Add Row
Add Element
cropper
update
Home Fix Channel
update
Add Element
  • Home
  • Categories
    • Industry Trends
    • Technology
    • Industry news
    • Consumer Reviews
    • Home Services Tips and Advice
    • Home Improvement scams
    • Home Renovation
    • Home Improvement
April 06.2025
2 Minutes Read

Essential Guide: How to Turn Off Water to Your Toilet Easily

Guide on how to turn off water to toilet featuring valve and hose.

Mastering the Art of Shutting Off Toilet Water: A Homeowner's Guide

Imagine stepping into your beautifully decorated bathroom only to discover a flooding situation thanks to a leaking toilet. It’s a nightmare scenario that calls for an immediate response. The first line of defense? Knowing how to swiftly turn off the water supply to your toilet. This essential skill can save your space from needless damage.

Why Knowing How to Stop the Flow Matters

In every bathroom, a dedicated water system operates behind the scenes, and one wrong move can lead to chaos. Beyond just stopping leaks, turning off the water allows for safe repairs and maintenance. Whether you're a homeowner or part of a home improvement company, understanding this process is critical to keeping spaces functional and safe.

Three Simple Methods to Successfully Turn Off Water to Your Toilet

So, how can you effectively shut off your toilet's water? Here are three straightforward methods to get the job done:

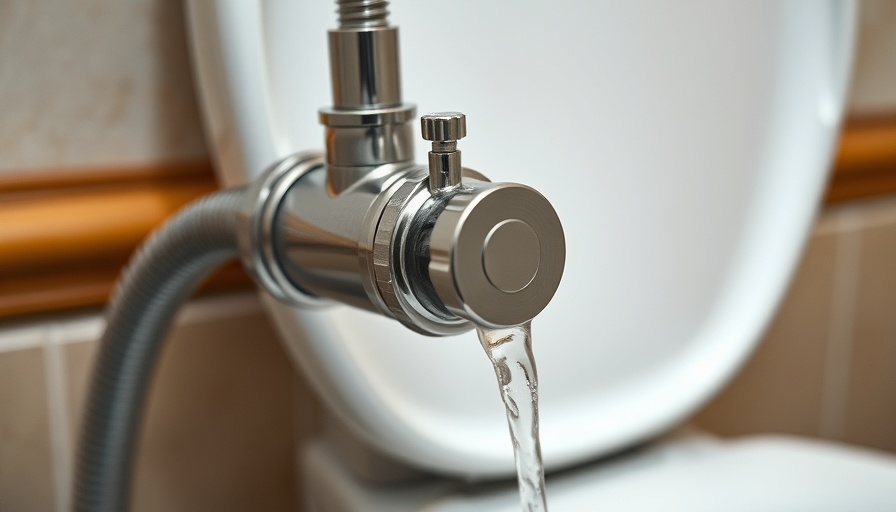
1. Closing the Dedicated Toilet Valve

This is the easiest way to stop the water flow. Begin by locating the toilet supply valve, commonly found at the wall behind the tank or near the base on the floor. Simply turn this valve clockwise until it is firmly closed. If any residual water remains, a quick flush will help clear it away.

2. Shutting Off the Main Water Supply

In cases where the toilet valve is broken or if there’s a significant leak, the main water supply valve is your best ally. Whether your main line is in the basement or another area, ensure you know its location ahead of time to act quickly when needed. This method ensures all water flow to your bathroom fixtures ceases, protecting your space from damage.

3. DIY Tricks for Stubborn Valves

Sometimes, valves can become stuck or rusted. Using a combination of lubricant like WD-40 along with a wrench can help ease them open. A hairdryer can provide the warmth needed to expand the metal slightly, making it easier to turn.

Final Tips for Home Improvement Enthusiasts

Cultivating the knowledge of shutting off water in emergencies is not just practical—it’s vital for those involved in home services and improvement. Equip your team with these tips to ensure swift action can be taken, ensuring customer satisfaction while preventing damage from water leaks.

Call to Action

Stay ahead in home improvement by ensuring you and your staff familiarize yourselves with these essential plumbing techniques. A little knowledge goes a long way in preserving the beauty of any bathroom!

Home Improvement

Write A Comment

*
*
Related Posts All Posts

Transform Your Home: When Is It Time to Replace Your Driveway?

Update Is It Time to Say Goodbye to Your Driveway?In the bustling world of home improvement, every detail matters—especially your driveway. More than just a parking space, a driveway enhances your home’s first impression and can significantly impact property value and safety. But like a favorite pair of shoes, wear and tear is inevitable.Understanding Driveway DeteriorationFor homeowners and contractors alike, recognizing when repairs are insufficient is crucial. Michigan's unpredictable climate compounds the challenges faced by concrete driveways. The freeze-thaw cycles cause surfaces to expand and contract, leading to cracks, stains, and even structural erosion.The Tell-Tale SignsKeep an eye out for persistent issues such as cracks that reappear or deepen despite patch efforts. A drive that holds water or has damp spots not only disrupts its aesthetic but signals poor drainage that can affect your home's foundation. That unsightly spalling from de-icing salts? It's not just cosmetic; it points to deeper problems requiring fresh concrete designed to withstand harsh winters.Crafting Curb AppealA worn-out driveway doesn’t just hurt functionality; it impacts curb appeal too. Revamping with a stylish design or contemporary finish delivers dual benefits: enhanced aesthetics and increased property value. Upgrading your driveway can breathe new life into your home and create a welcoming vibe.What to Consider Before ReplacementBefore deciding on a complete replacement, consult with reliable concrete contractors in your area. Their expertise can guide you through options like resurfacing or installing air-entrained concrete, engineered for Michigan's demanding weather. They can also assist in ensuring proper drainage, preventing similar issues in the future.Time to Upgrade?In conclusion, understanding the signs that your driveway may need replacement is the first step toward enhancing your home's safety and charm. A well-maintained driveway is more than a functional space; it’s a smart investment in your property’s future. Ready to elevate your home’s curb appeal? Consider consulting professionals in home improvement today to get started on your driveway upgrade. It's time to transform your home into the envy of the neighborhood!

Explore Essential Hardwood Floor Underlayment Options for Your Project

Update Understanding Hardwood Floor UnderlaymentChoosing the right hardwood floor underlayment can mean the difference between a flooring experience that’s comfortable and sound-dampening, and one that echoes every footstep. If you're a home improvement enthusiast or a business owner in the renovation industry, finding suitable underlayment options is crucial not only for customer satisfaction but also for longevity in flooring.Comparing Underlayment OptionsEach underlayment type offers unique benefits to cater to different flooring materials and environments. For instance, the TrafficMASTER Polyethylene Foam is budget-friendly and lightweight, making it an attractive option for homes with a focus on savings without sacrificing quality.Meanwhile, the Roberts AirGuard Floor Underlayment is praised for its durability and cushioning properties, making it the go-to for those installing laminate flooring. It supports walking comfort without compromising structural integrity, which is essential for retaining happy customers.Prioritizing Moisture ControlMoisture can wreak havoc on flooring, and choosing the appropriate underlayment can mitigate these issues. The DMX 1 Step 2.0 Underlayment offers excellent moisture resistance when paired with vinyl planks and is ideal for basements or bathrooms where humidity can be high.Exploring Additional Premium OptionsLastly, the Eco Cork Foam Premium Underlayment stands out as an eco-friendly choice. Its antimicrobial features make it perfect for areas with heavy foot traffic, appealing to both environmentally-conscious homeowners and contractors looking for sustainable materials.Final Thoughts and ImplementationUnderstanding these options and the benefits they provide is key to enhancing customer satisfaction and driving sales in the home improvement sector. Consider sharing these insights through marketing strategies, as educating your clientele about the importance of proper underlayment can lead to better buying decisions.

Perfect Your Kitchen: Discover the Ideal Cabinet Height for Functionality

Update Why Kitchen Cabinet Height Matters Are you entering the realm of home improvement and considering a kitchen remodel? A crucial aspect to contemplate is the height of your kitchen cabinets. Not only does this detail influence the function of your space, but it significantly impacts the room's aesthetics. If you're looking to achieve that polished, modern kitchen vibe, understanding the ideal cabinet height should remain at the forefront of your remodel planning. Understanding Standard Kitchen Cabinet Heights The standard height for kitchen cabinets is set around 54 inches, which is composed of a base cabinet height of 34.5 inches and an additional 18 inches for the placement of wall cabinets above the countertops. This formula ensures that popular kitchen fixtures like stoves and sinks are easily accessible and aligns with the ergonomics that today’s homeowners need. Factors that Affect Cabinet Heights While the standard height gives a solid foundation, various factors can adjust this number to better accommodate personal needs and kitchen layouts. Here are a few key contributors: Base Height: The base of cabinets can differ; higher bases naturally push the upper cabinets higher. Ensure there’s a clean visual flow between the upper cabinets and the ceiling. Countertop Thickness: The thicker the countertop, the more height you may need between the upper cabinets and the countertop itself. Cooking Range Safety: Adequate spacing between the stove and upper cabinets is critical for safety and prevents potential fire hazards. Your Family's Needs and Kitchen Functionality Family members’ heights and accessibility needs should play a role in cabinet height considerations. Adjusting the measurements in alignment with who will be using the kitchen will create a more user-friendly environment. This personal touch not only enhances functionality but can delight the various users of the space every day. Conclusion: Elevating Your Kitchen Experience Getting the kitchen cabinet height right isn’t just about adhering to standards; it’s about creating a space that feels tailored to you. Consider all the factors mentioned to design a kitchen that’s not only stylish but practical. For more expert advice on home improvement and services, reach out to professionals who can guide you through your renovation journey!

Terms of Service

Privacy Policy

Core Modal Title

Sorry, no results found

You Might Find These Articles Interesting

T
Please Check Your Email
We Will Be Following Up Shortly
*
*
*